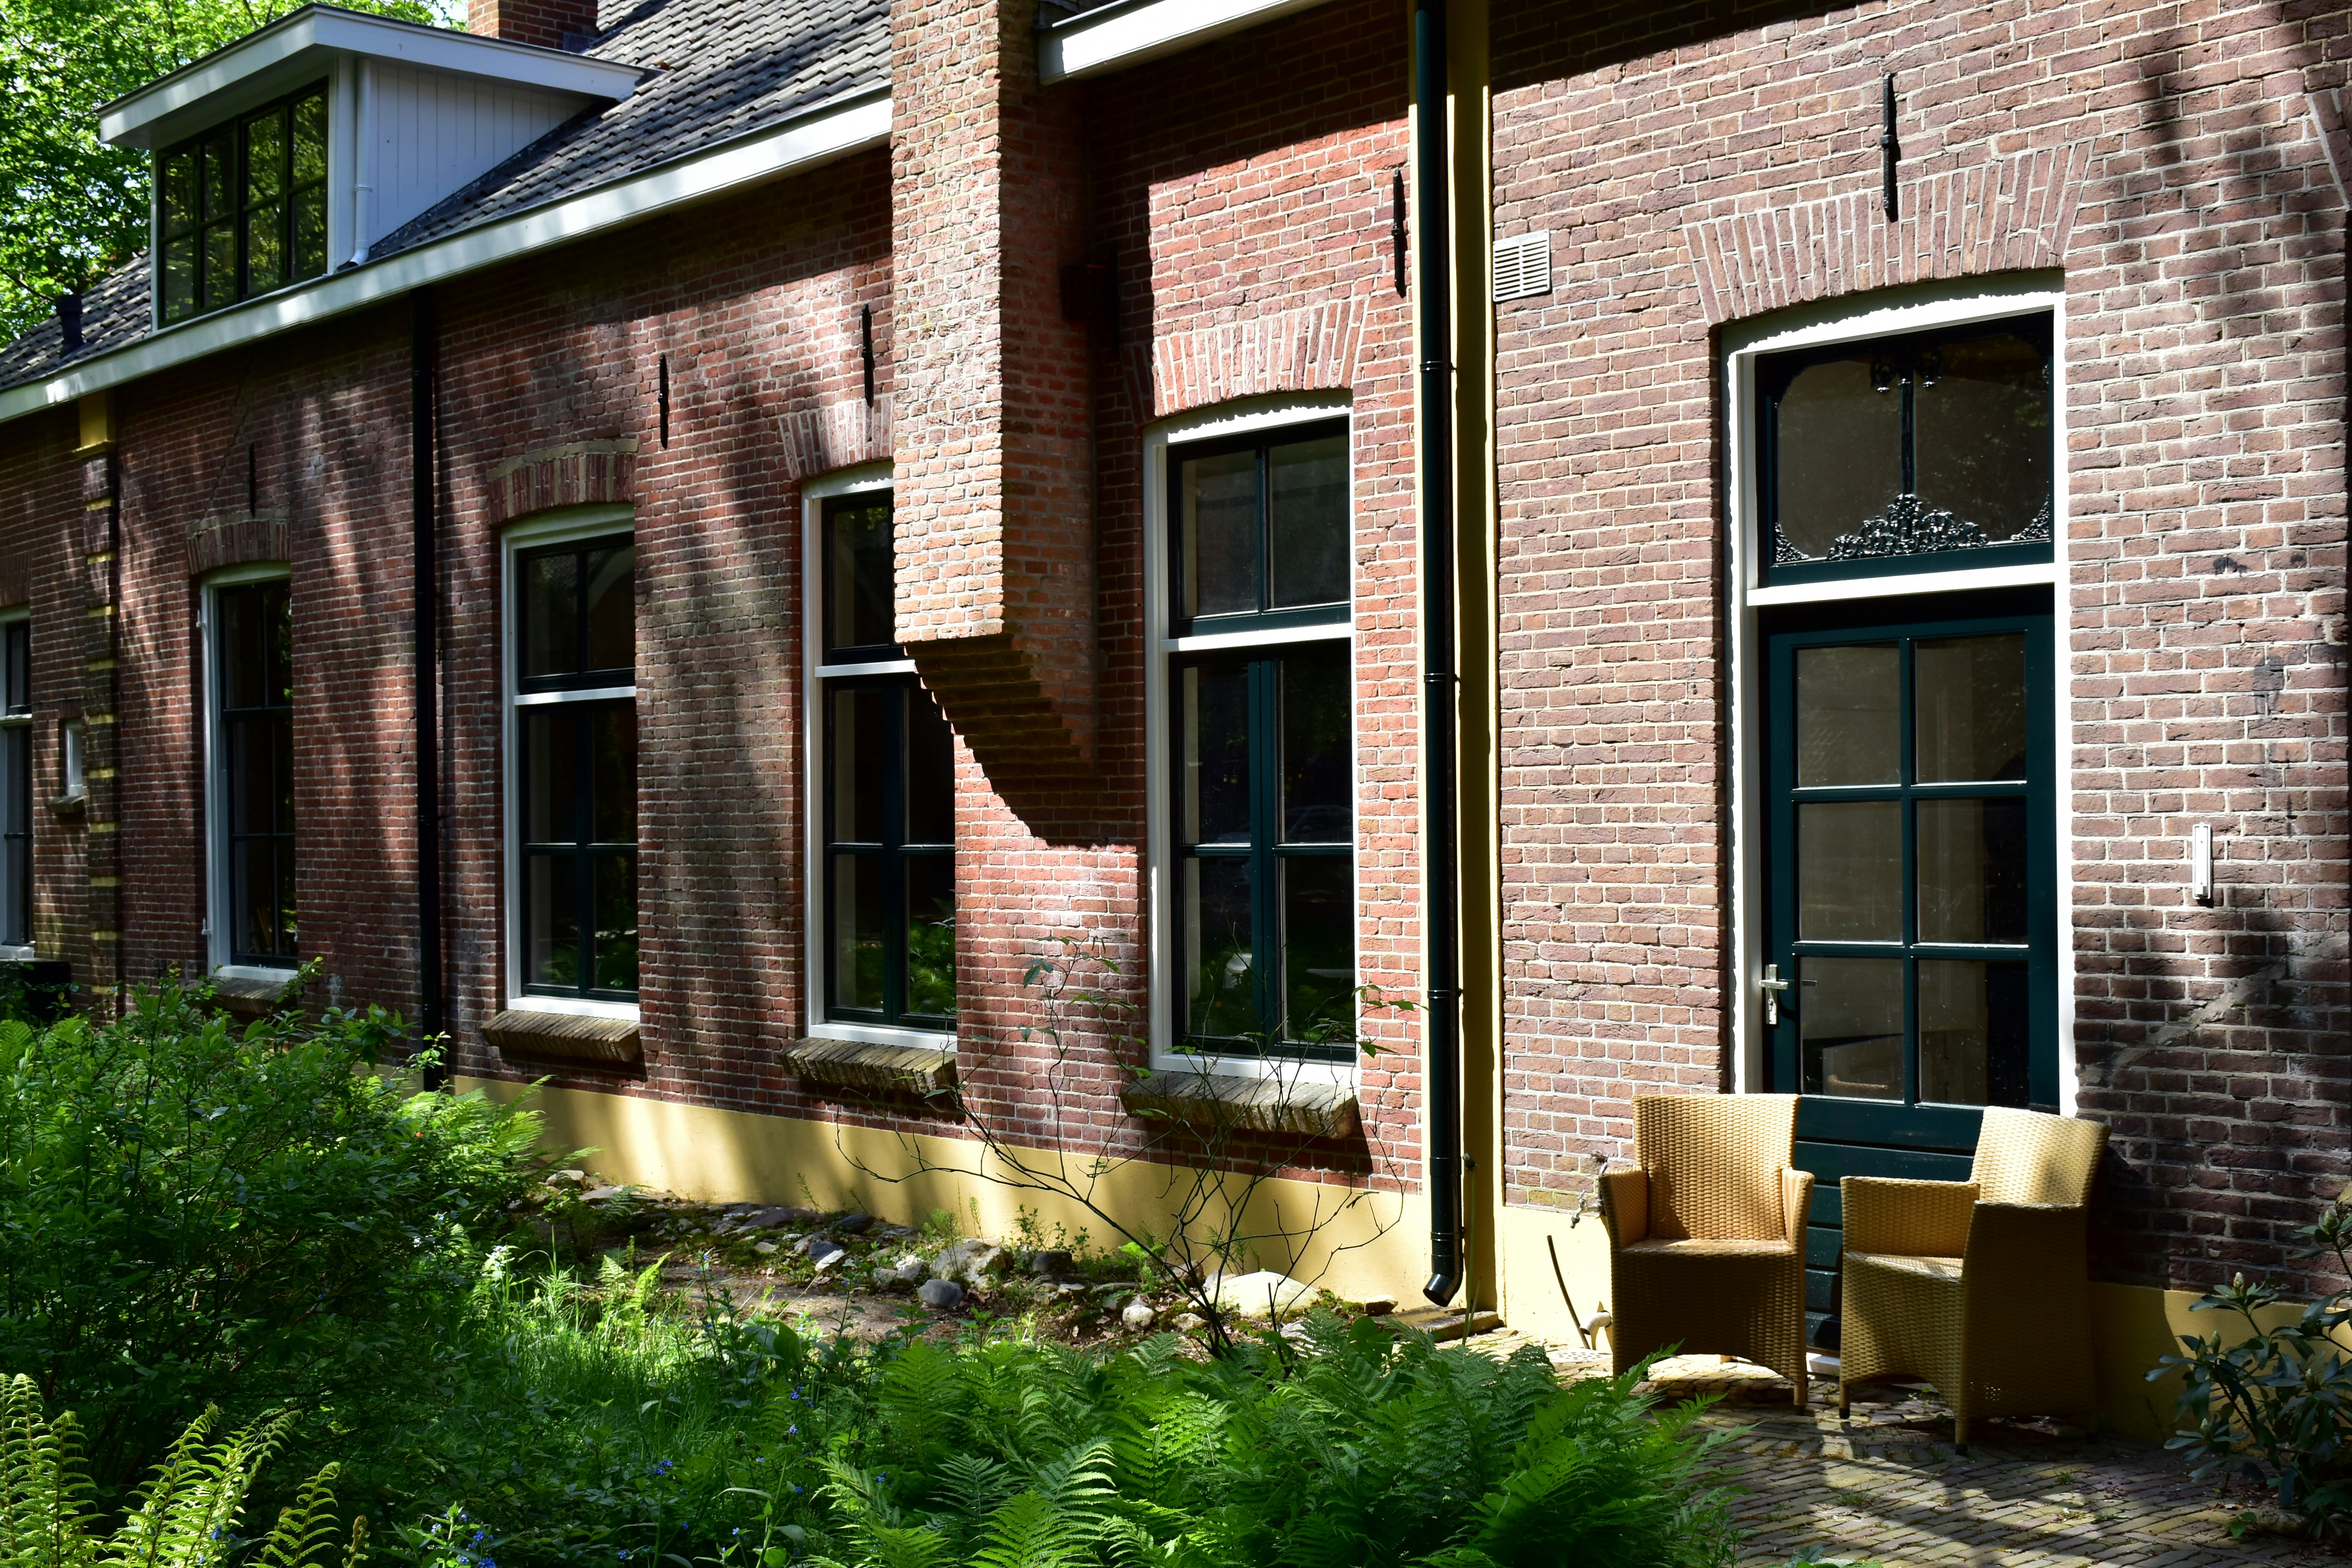
Optimal Downpipe Placement for Effective Roof Drainage: Best Practices for Protecting Your Home
9 Sept 2024

Placing downpipes on your home’s gutter and roof is a crucial design consideration that directly impacts how effectively rainwater is diverted away from your property. Improperly positioned gutters and downpipes can direct water towards your house instead of away from it, increasing the risk of flooding, leaks, and long-term water damage.
Although downpipe runoff may still be directed away from the wall using a gooseneck connector, a collar and grate system – also known as an ‘open grill’ – allows you to see the water as it exits the downpipe and enters the grill.
In this article, we will explore best practices for positioning downpipes across various common roof designs, including gabled, hipped, and Dutch gable styles. By understanding the optimal locations, homeowners can ensure proper drainage from the start or make necessary adjustments to existing setups. Following these guidelines will help protect your property’s structural integrity for years to come.
Where Should Downpipes Be Installed? A Guide to Effective Placement
Proper downpipe placement is key to ensuring water safely drains away from your home’s foundation. Different roof designs require tailored strategies to optimise drainage and prevent potential water-related issues.
Downpipe Placement for Gabled Roofs
For gabled-style homes, downpipes should be positioned at the lowest corners of each sloped roof side. Ideally, space them approximately 2.5 to 3 metres apart, depending on the roof size. Ensure the piping slopes at a steady 20 millimetres per metre to channel water off the edge without pooling.
Opt for round or square profiles rather than narrow half-rounds, which can trap rainwater. Securely install the downpipes beneath gutters using straps or hangers placed every 1 to 1.5 metres for stability.
Best Downpipe Locations for Hipped Roofs
Hipped roofs, with their pyramid-like sloping sides, shed water evenly. Downpipes should be located directly at each corner intersection for symmetrical drainage. This placement directs runoff away from all four sides of the home’s perimeter.
Use sturdy round or wide square piping suitable for hip roof angles, and space the downpipes no more than 4.5 metres apart, given the steeper pitch.
Installing Downpipes on Dutch Gables
Dutch gable-style homes feature large sloping sections that benefit from downpipes at gable ends and near the 1/3 points dividing the spans. This placement prevents substantial volumes of water from overrunning long gutter runs.
Position outlets a few centimetres beyond exterior walls to redirect drainage away from vulnerable foundation areas, thereby reducing the risk of water damage.
Downpipe Solutions for Large and Multi-Level Roofs
Expansive or multi-storied roof designs require customised downpipe planning to manage potential debris loads from vast surface areas. Larger diameter piping spaced 3 metres or closer together may be needed, along with maximised leaf-proof ventilation above. Direct drain inlets away from lower roof sections to prevent overflow.
Why Valley Gutters Need Proper Downpipe Placement
Valley gutters are essential for channelling water from your roof to the gutters. To relieve pressure on the gutters, install downpipes close to the valley gutters, ensuring efficient water flow away from the roof.
Downpipe Installation Around Building Additions
When expanding your home’s footprint with additions, it’s crucial to prioritise keeping below-ground spaces like basements dry. Avoid installing new pipes or gutters atop additions, as this could trap water at ground level.
Route water flow at least 1.5 metres away from all structures using elbows or splash blocks to discharge water safely 1 metre beyond foundation walls. Ensure downpipes do not serve more than 12 metres of gutter length for each downpipe.
Optimise grade slopes to naturally divert water away from your property. The pipes should be securely fixed to the walls with brackets or materials that can withstand heavy rain, storms, and wind, and are rust-resistant. Additionally, you may connect the downpipe directly to a rain barrel for water harvesting.
The Optimal Spot to Position Your Downpipes for Effective Drainage
Properly locating downpipes is essential for effective roof drainage and protecting your home’s structure and foundation. Following the best practices discussed here will help maximise runoff away from your property for various common roof designs. Always select a downpipe that matches the right eaves gutter section.
If you need assistance evaluating your roof’s drainage system or installing new downpipes in optimal locations, please contact the experts at Radiant Roof Repairs. Our experienced team can assess your home’s unique requirements, recommend solutions, and perform the work quickly and professionally.
We are committed to delivering high-quality craftsmanship and outstanding customer service. Contact us today to discuss a customised plan and receive a free estimate for your downpipe needs. Our team will be happy to answer any questions and help you maintain proper drainage to keep your home safe from water damage for many years to come.
Frequently Asked Questions (FAQs)
Q: How many downpipes does my roof need?
A: The number of downpipes required depends on the size and design of your roof. Typically, one downpipe is needed for every 12 metres of gutter length to ensure efficient water drainage.
Q: What happens if downpipes are not properly positioned?
A: Improperly positioned downpipes can lead to water pooling near your home's foundation, increasing the risk of leaks, flooding, and structural damage over time.
Q: Can I install downpipes myself?
A: While it’s possible to install downpipes yourself, it’s recommended to consult with a professional to ensure proper placement and secure installation, particularly for complex roof designs.
